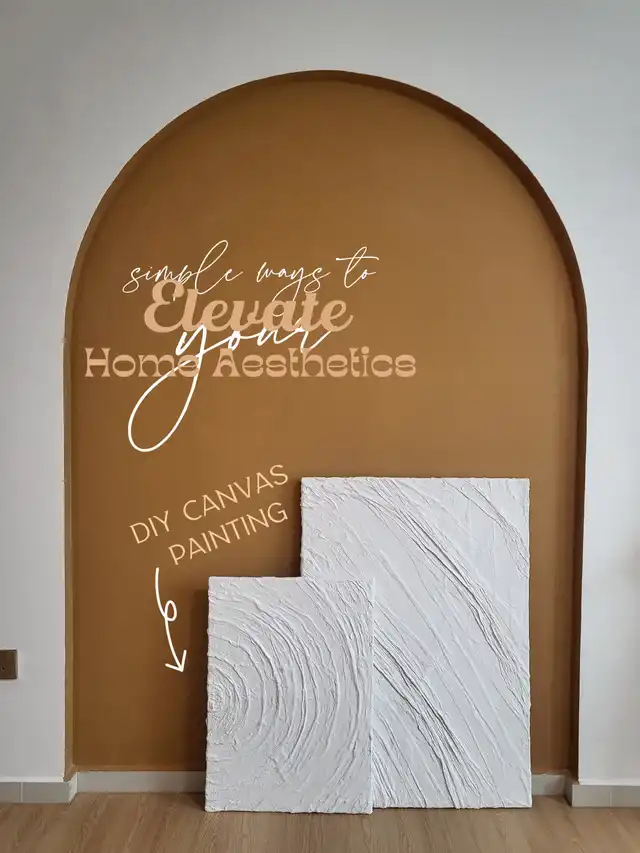
Textured artworks are all in the rage nowadays… Not only does it look visually pleasing, but the texture adds depth and dimension that is unmatched in traditionally flat artworks.
As you know, Jo will be moving into her new house soon. She has been on a hunt of some artwork to fill up some of her spaces in her home… so we ( me, J, and my daughter) thought to create some art pieces as a present to her! Timing's perfect as it's the school holidays now, too! 😆
Unfortunately, my girl has the attention span of a goldfish, so I did the majority of it.. but she did help… a little 😆
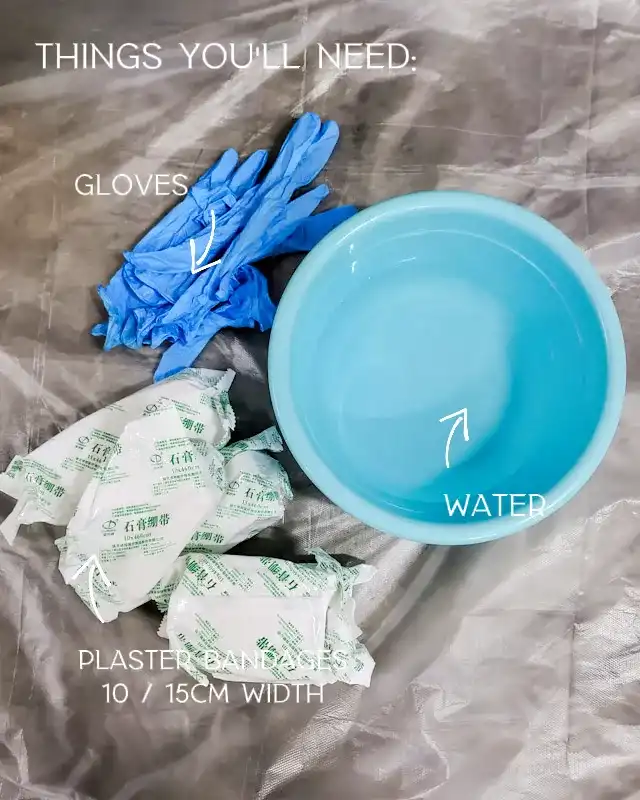
What you'll need:
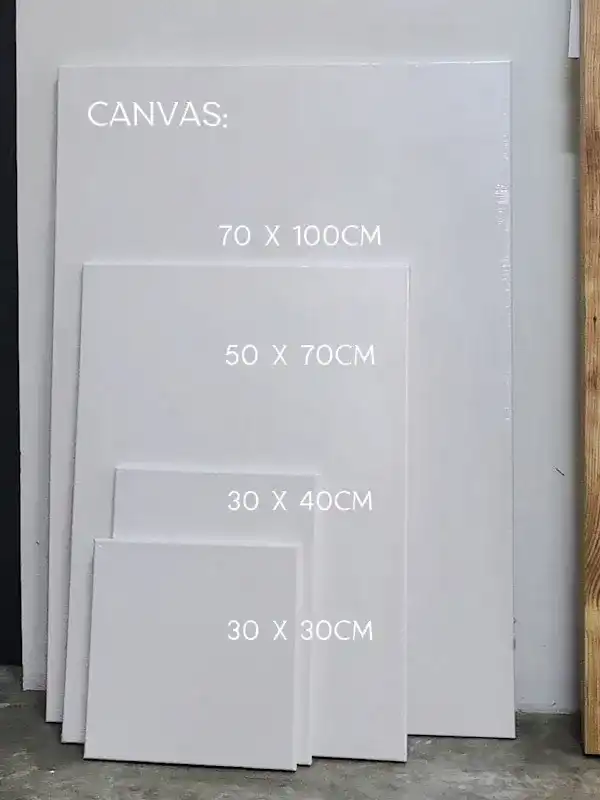
1) Art Canvases of different sizes. You can easily get these at your local art stores or on Shopee or Lazada. We got ours off Taobao, but the quality is only so-so, I would not include the link. You'd want larger canvases to create the wow effect, or you can create a series of 2 or 3 pieces that have the continuity when hung side by side. I included the sizes I got in the picture.
2) .Plaster bandages in 10cm and 15cm width. These are bandages with plaster coating that makes a cast! You can easily get them here in pharmacies or online. You can get them in different width. 15cm adds depth, but 10cm would be good enough. I used about 15 rolls for 2 large and 2 small artworks.
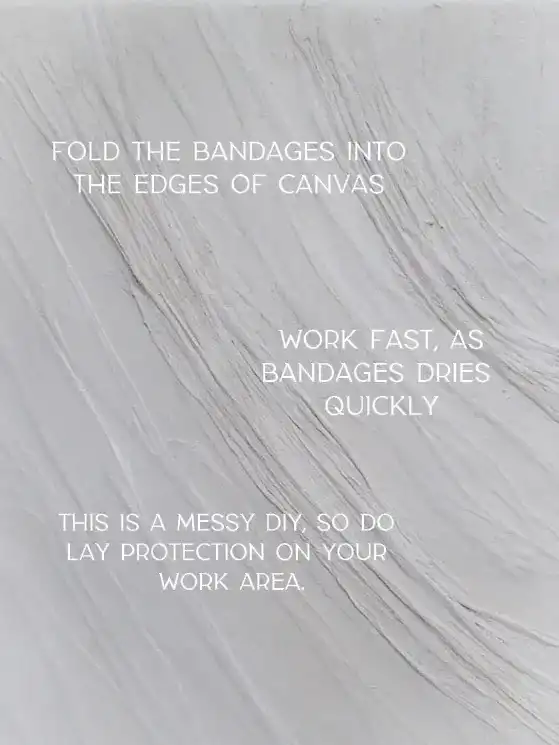
3) Plastic Cover. This is a messy DIY. Make sure to cover and protect your work area!
4) Scissors.
How to:
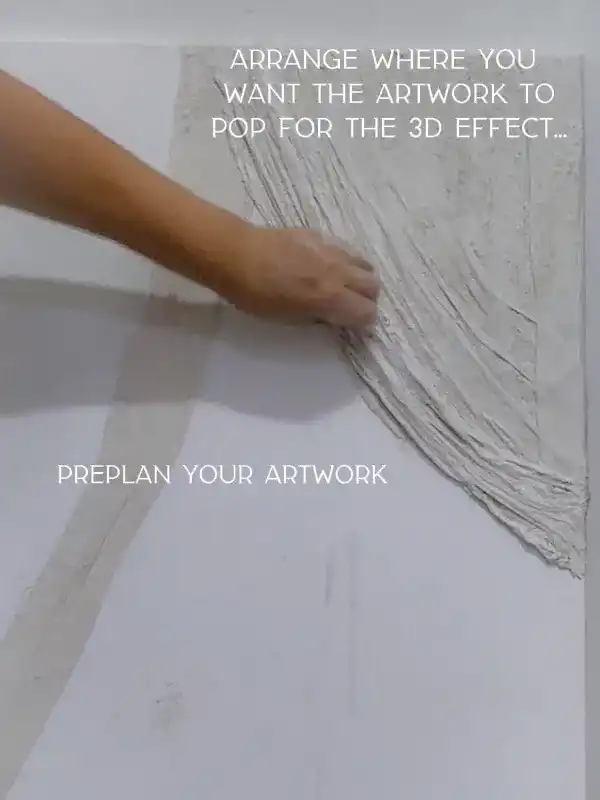
1) Plan your artwork.
Have an idea how you want your artwork to be.. It can simply be in a straight line or wavy, whatever shapes you want it in.
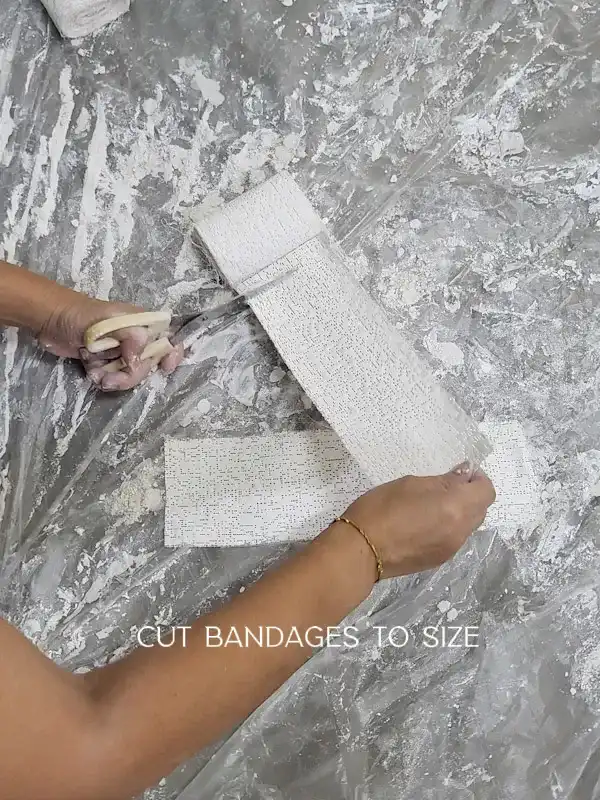
2) Cut your bandages in size.
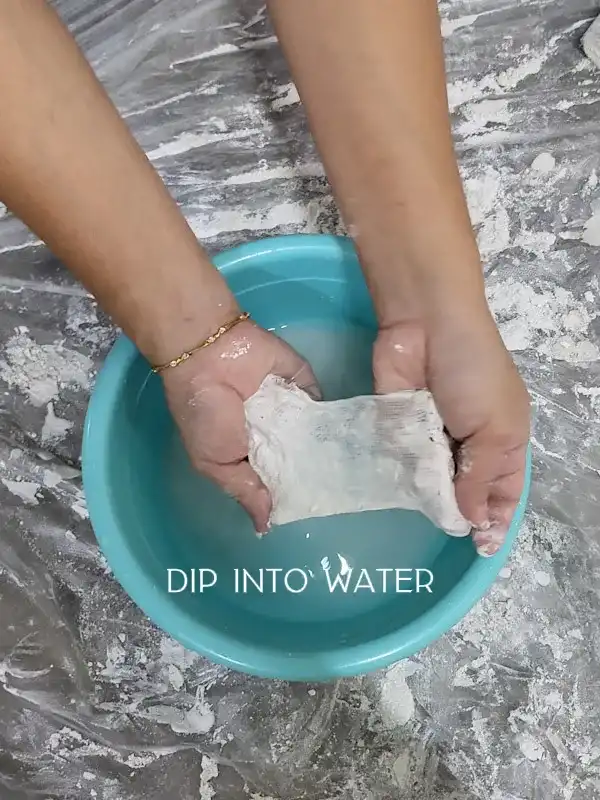
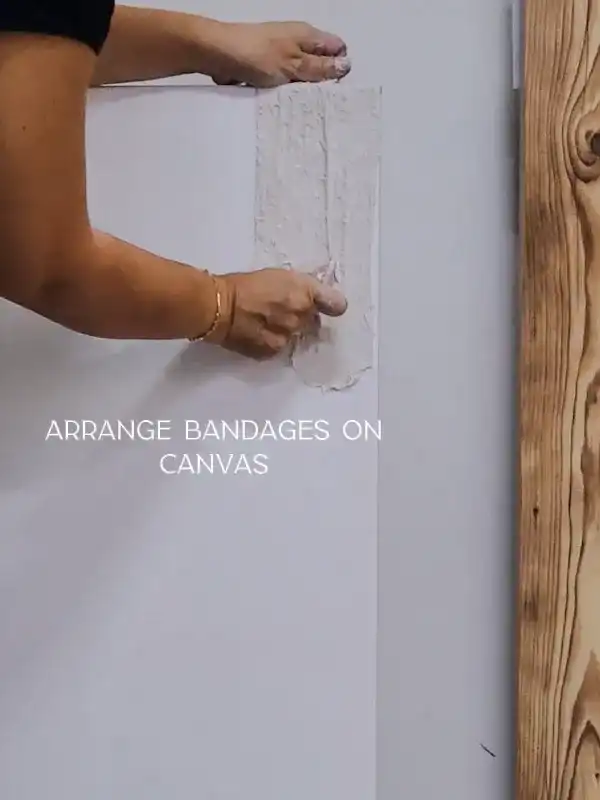
3) Dip your bandages in water and squeeze it slightly. Open the bandage and smooth it over the canvas. Start from a corner and work out your artwork from there.
4) You'd want some parts to be smooth and some to be more textured. Manipulate the bandage to how you want it to be. You'd need to work fairly fast as it dries quite fast.
5) Be sure to fold over the bandage over the corner of the canvas.
6) Cover the whole canvas.
7) Let it dry.
8) You can add colour to your artwork after it dries!
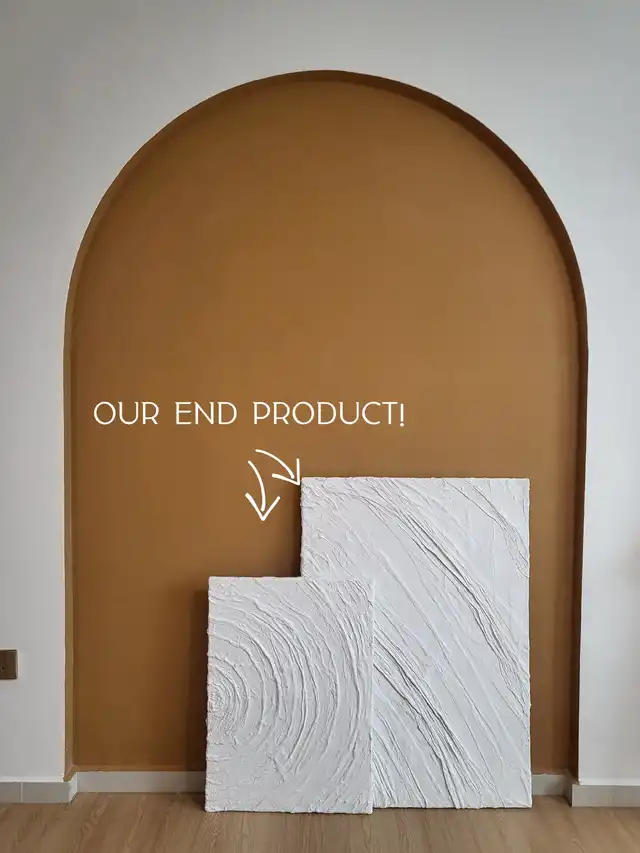
Yup! It's that simple. And you have a one of a kind artwork! How precious!
Rating /⭐⭐⭐⭐⭐:
Difficulty : 🌟 (Super Easy. It's just a little messy, so be prepared)
Worth doing? : 🌟🌟🌟🌟🌟 (Yes, totally! It's fun and you get something beautiful for display at the end of it! Try it!
Do let me know how you like it if you tried it! 😊